Are you ready to enjoy a delicious dessert that’s both comforting and allergy-friendly? This dairy free pumpkin pie is AI the perfect treat for anyone looking for a healthier alternative to the classic, without sacrificing flavor. Whether you’re vegan, lactose intolerant, or simply looking to try something new, this pie is sure to impress. With its creamy pumpkin filling, warm spices, and buttery vegan crust, it’s the kind of dessert that everyone can enjoy, no matter their dietary preferences. So, let’s dive into this easy-to-make, crowd-pleasing recipe that’s perfect for your next holiday gathering or cozy weekend treat!
Table of Contents
Key Benefits of Dairy Free Pumpkin Pie
This dairy free pumpkin pie isn’t just a treat for the taste buds—it’s a guilt-free indulgence that offers plenty of benefits, making it the perfect dessert for anyone seeking healthier options or managing dietary restrictions. Let’s explore some of the key reasons why this pie should be your go-to for any occasion.
- Perfect for Dairy-Free Diets: Whether you’re lactose intolerant, following a vegan lifestyle, or just looking to reduce dairy intake, this dairy free pumpkin pie is a game-changer. You won’t miss the creaminess that dairy typically brings, thanks to delicious alternatives like coconut milk and plant-based butter.
- Rich in Nutrients: Pumpkin is naturally high in fiber and packed with vitamins like A, C, and E. It’s a nutrient-dense filling that’s great for your health, making this dessert a little more wholesome than the traditional version.
- Allergy-Friendly: If you’re hosting guests with various dietary needs, this pie is a great option. It’s naturally gluten-free (when using the right crust) and can easily be adapted to meet other dietary preferences with simple ingredient swaps. You can also make it nut-free if needed by opting for non-nut milk alternatives.
- Easy to Make: This recipe comes together quickly, making it perfect for beginners and seasoned bakers alike. With just a few simple ingredients, you can whip up a flavorful, satisfying pie that’s sure to impress.
- Crowd-Pleasing: Even those who aren’t dairy-free will love the rich, spiced flavor of this pie. It’s the kind of dessert that appeals to everyone, whether at a holiday dinner, family gathering, or just a casual weekend treat.
Now that you know the benefits, let’s dive into how to make this irresistible pie! You’ll love how easy and delicious it is—promise.
Ingredients for Dairy Free Pumpkin Pie
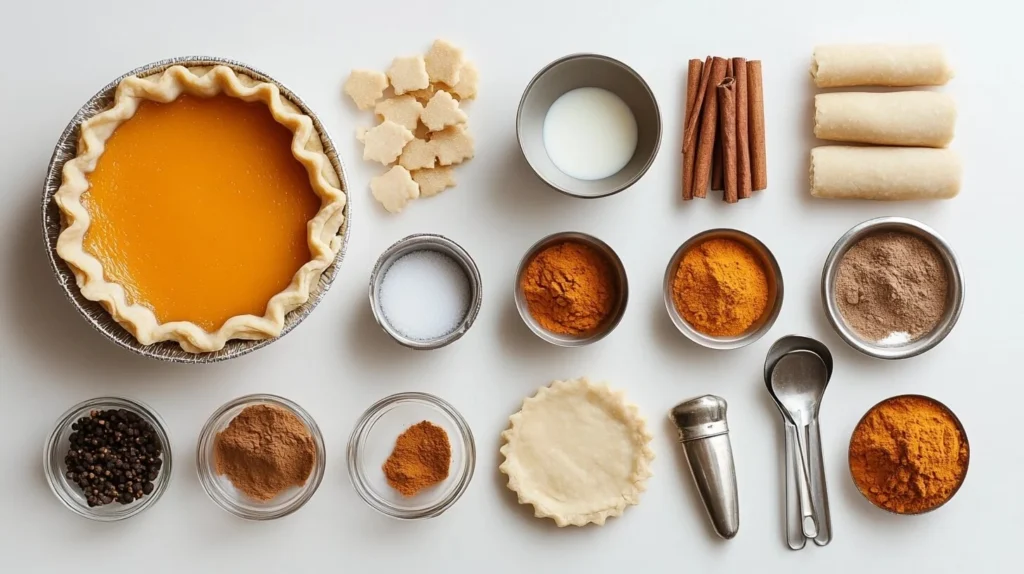
Let’s gather everything you’ll need to make this amazing dairy free pumpkin pie. Don’t worry—it’s all super simple and easy to find, with plenty of healthy swaps and alternatives to ensure it’s both delicious and dairy-free. Here’s what you’ll need to make this pie come to life:
For the Crust:
- 1 1/2 cups gluten-free all-purpose flour (or regular all-purpose flour, if you prefer)
- 1/2 cup coconut oil (melted, or vegan butter for an alternative)
- 1/4 cup maple syrup (adds a natural sweetness)
- 1/4 teaspoon salt (helps balance the flavors)
For the Pumpkin Filling:
- 1 can (15 oz) pure pumpkin puree (make sure it’s pure pumpkin, not the spiced pie filling)
- 1/2 cup full-fat coconut milk (for that rich, creamy texture)
- 1/4 cup maple syrup (for just the right amount of sweetness)
- 2 teaspoons pumpkin pie spice (or a blend of ginger, nutmeg, and cinnamon)
- 1 teaspoon vanilla extract (for that extra cozy flavor)
- 1 tablespoon cornstarch (this thickens the filling just right)
- 1/4 teaspoon salt (to enhance the flavors)
For the Topping (Optional but Highly Recommended):
- Whipped coconut cream (or your favorite dairy-free whipped topping)
- Ground cinnamon (for a simple dusting on top)
Ingredient Tips:
- Gluten-Free Flour: If you’re not following a gluten-free diet, regular flour works just fine, but the gluten-free flour will give the crust a nice, flaky texture without any dairy.
- Coconut Oil: The coconut oil keeps the crust crisp and gives it a subtle coconut flavor that complements the pumpkin filling. You can swap it with plant-based butter if needed, but coconut oil is truly the best option for this recipe.
- Maple Syrup: Maple syrup adds a natural sweetness that pairs perfectly with the pumpkin. If you don’t have it, feel free to use agave or brown sugar as an alternative. Just remember, maple syrup gives it a unique depth of flavor.
- Coconut Milk: Full-fat coconut milk is a must for a creamy, smooth filling that mimics the richness of traditional pumpkin pie. You can substitute with another plant-based milk, but coconut milk gives the pie its signature texture.
Once you have these ingredients ready, you’re just a few steps away from creating the perfect dairy free pumpkin pie. Let’s get baking!
How to Make Dairy Free Pumpkin Pie
Crafting a dairy free pumpkin pie is a straightforward and rewarding experience. With these easy-to-follow steps, you’ll create a pie that’s rich, creamy, and perfect for any occasion. Let’s get started!
Step 1: Prepare the Crust
- Preheat your oven to 350°F (175°C) to ensure it’s ready when you are.
- Mix the dry ingredients: In a mixing bowl, combine your flour (gluten-free if needed) with a pinch of salt.
- Add the wet ingredients: Stir in melted coconut oil or vegan butter, followed by maple syrup. Mix until the dough starts to come together.
- Form the crust: Press the dough evenly into a pie dish, covering the base and sides. Use your hands or the back of a spoon to smooth it out.
- Blind bake the crust: Place it in the oven for 10–12 minutes, allowing it to firm up slightly without overbaking.
Step 2: Prepare the Pumpkin Filling
- Combine the ingredients: In a large bowl, whisk together the pumpkin puree, full-fat coconut milk, maple syrup, pumpkin pie spice, vanilla extract, cornstarch, and a pinch of salt.
- Check the consistency: Ensure the filling is smooth and well-mixed. If it feels too thick, add a splash of coconut milk.
- Adjust the flavor: Taste the filling. Want it sweeter? Add a touch more maple syrup. Craving a bolder spice? Sprinkle in extra cinnamon or nutmeg.
Step 3: Assemble and Bake the Pie
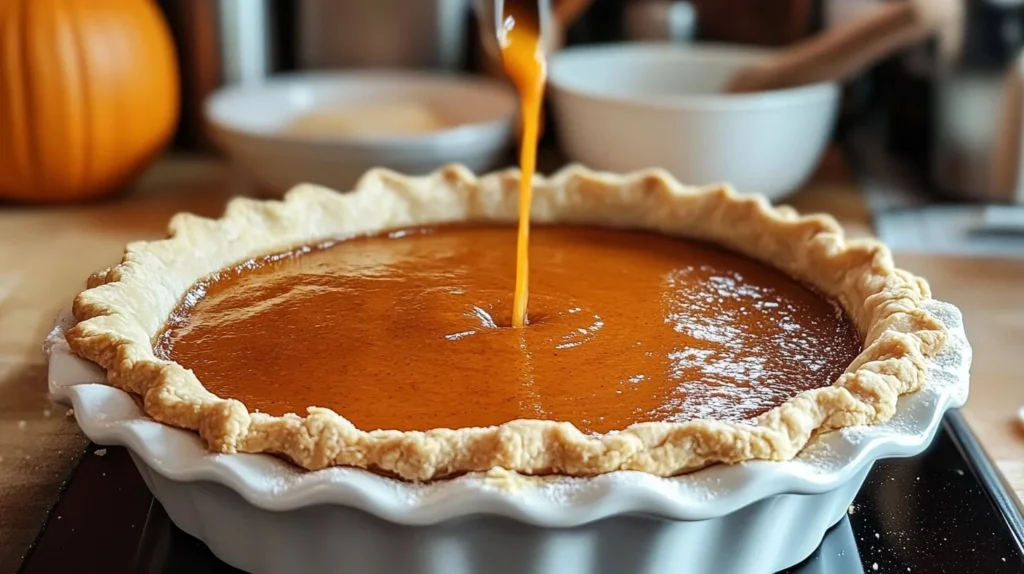
- Pour the filling: Once the crust has cooled slightly, pour the pumpkin filling into the crust, spreading it evenly with a spatula.
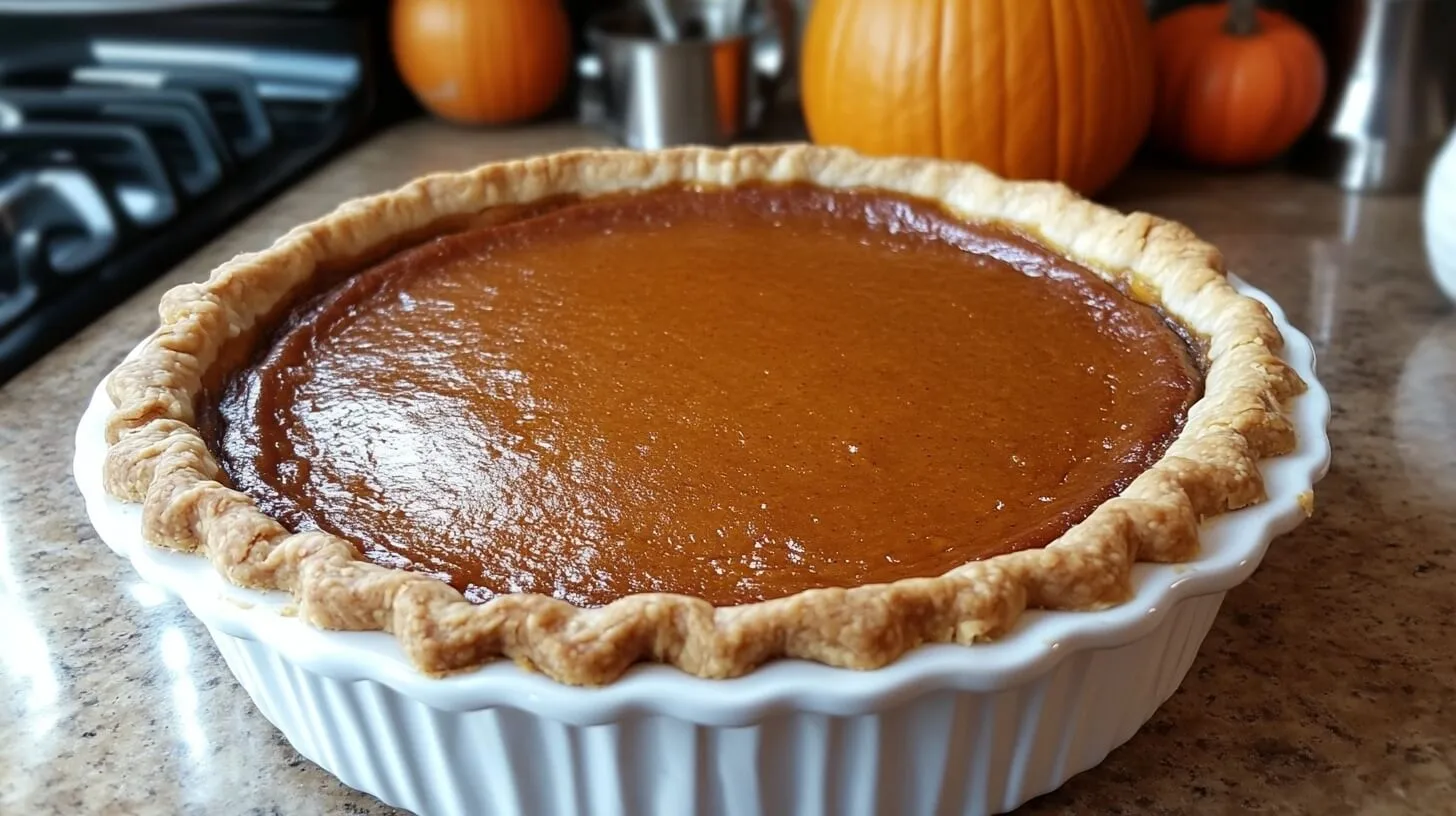
- Bake: Place the pie in the oven and bake for 40–45 minutes. The edges of the filling should be set, while the center may still have a gentle wobble—this will firm up as it cools.
- Cool completely: Allow the pie to cool at room temperature for at least two hours. This step ensures the filling sets perfectly and allows the flavors to deepen.
Step 4: Add the Finishing Touches (Optional)
- Whipped coconut cream: Top your pie with a dollop of dairy-free whipped cream for added indulgence.
- Garnish with spices: A light sprinkle of cinnamon or nutmeg over the top adds a lovely aromatic touch.
Pro Tip:
If you’re short on time, the crust and filling can be prepared ahead of time. Assemble the pie and bake it the next day for a stress-free dessert option!
With these simple steps, you’ll create a dairy free pumpkin pie that’s irresistibly smooth, full of flavor, and sure to be a hit at your next gathering. Enjoy!
Pro Tips and Variations
Creating a dairy free pumpkin pie can be as fun as it is rewarding, especially when you know how to add your personal touch. Here are some practical tips and creative variations to help you perfect your pie every time.
Pro Tips for a Perfect Pumpkin Pie
- Choose the Right Pumpkin Puree: Canned pumpkin works great for convenience, but make sure it’s 100% pure pumpkin, not pumpkin pie mix, which contains added sugar and spices. For a homemade touch, roast fresh pumpkin and blend it into a silky puree.
- Pre-Bake the Crust: Blind-baking your pie crust prevents a soggy bottom. Line the crust with parchment paper, add pie weights, and bake for 10–15 minutes before adding the filling.
- Use a High-Speed Blender: A good blender ensures your filling is smooth and lump-free, giving your pie a velvety texture.
- Don’t Skip the Spice Blend: A combination of cinnamon, nutmeg, ginger, and cloves provides the classic warm, autumnal flavor. Adjust the spices to suit your taste.
- Let It Cool Completely: Cooling the pie at room temperature allows the filling to set properly. For best results, chill it in the fridge for at least 2 hours before serving.
Creative Variations to Try
- Nutty Crust Alternative: Swap out traditional pie crust for a crust made with ground almonds, pecans, or hazelnuts mixed with coconut oil for added crunch and flavor.
- Maple-Sweetened Filling: Replace granulated sugar with pure maple syrup for a natural sweetness and rich, earthy undertones.
- Chocolate Drizzle: After the pie cools, drizzle dairy-free dark chocolate on top for a decadent twist.
- Ginger Snap Crust: Use crushed dairy-free ginger snap cookies instead of traditional pie crust for a spicy, sweet base.
- Mini Pumpkin Pies: Make individual pies using muffin tins for single-serving treats perfect for parties or holiday gatherings.
Allergy-Friendly Swaps
- Nut-Free: Replace almond milk with oat or soy milk and avoid nut-based crusts.
- Soy-Free: Opt for coconut or oat milk in the filling for a creamy, soy-free alternative.
- Low-Sugar Option: Use stevia or monk fruit sweetener to cut down on sugar while maintaining sweetness.
By incorporating these tips and variations, you can transform your dairy free pumpkin pie into a memorable dessert tailored to your preferences and dietary needs. Whether you stick to the classic recipe or explore creative twists, every bite will deliver the comforting flavors of fall. Enjoy baking and experimenting!
Serving Suggestions
Your dairy free pumpkin pie is the star of the table, but the way you present and serve it can elevate the entire experience. Here are some ideas to make your pie shine and delight everyone at the table.
Classic Pairings
- Dairy-Free Whipped Cream: Top each slice with a generous dollop of coconut whipped cream or a store-bought dairy-free alternative for a creamy finish.
- Warm Spices: Lightly dust the pie with a pinch of cinnamon or nutmeg just before serving to enhance its rich, spiced aroma.
- Vanilla Ice Cream: Serve a scoop of dairy-free vanilla ice cream on the side for a cool, sweet contrast to the warm spices of the pie.
Elegant Presentation Ideas
- Decorative Garnishes: Sprinkle crushed pecans or drizzle maple syrup over the top for added texture and a touch of sophistication.
- Crispy Pie Crust Shapes: Use leftover crust dough to cut out seasonal shapes like leaves or pumpkins. Bake them separately and arrange them on top of the pie as edible decorations.
- Individual Plates: Plate slices with a drizzle of caramel sauce and a mint leaf for a professional touch.
Pairing with Beverages
- Coffee or Espresso: A bold cup of black coffee or an espresso balances the sweetness and complements the spices beautifully.
- Spiced Tea: Chai tea or a cinnamon-infused herbal tea makes a cozy pairing with the pie’s warm, autumnal flavors.
- Non-Alcoholic Mulled Cider: For a festive twist, serve your pie with a warm glass of mulled apple cider.
Holiday Hosting Tips
- Buffet-Style Serving: If you’re hosting a large gathering, pre-slice the pie and arrange it on a platter for easy self-serve access.
- Create a Dessert Bar: Offer an assortment of toppings like chopped nuts, shredded coconut, and dairy-free caramel so guests can customize their slices.
- Theme it Up: Use seasonal plates, napkins, or even a rustic pie stand to highlight the festive spirit of your gathering.
With these serving suggestions, your dairy free pumpkin pie isn’t just a dessert—it’s a centerpiece that invites creativity and celebration. Whether you’re sharing it during a holiday feast or enjoying a quiet slice with a cup of tea, the pie will surely leave a lasting impression on everyone who takes a bite.
Conclusion
Making a dairy free pumpkin pie isn’t just about accommodating dietary needs; it’s about crafting a dessert that everyone at the table can enjoy and savor. With its velvety filling, warm spices, and perfectly crisp crust, this pie proves that you don’t need dairy to create a show-stopping holiday dessert.
Whether you’re sharing it at a festive gathering or enjoying a slice with loved ones on a quiet evening, this recipe offers the perfect balance of tradition and inclusivity. It’s a reminder that food is meant to bring people together, no matter their dietary preferences.
Now that you have the step-by-step guide, it’s your turn to bring this dairy-free delight to life. Get creative with toppings, make it your own with variations, and most importantly, share it with those you care about. There’s nothing quite like seeing the joy on someone’s face as they take their first bite of a pie made with love.
dairy free pumpkin pie
Ingredients
For the Crust:
- 1 1/2 cups gluten-free all-purpose flour or regular all-purpose flour, if you prefer
- 1/2 cup coconut oil melted, or vegan butter for an alternative
- 1/4 cup maple syrup adds a natural sweetness
- 1/4 teaspoon salt helps balance the flavors
For the Pumpkin Filling:
- 1 can 15 oz pure pumpkin puree (make sure it’s pure pumpkin, not the spiced pie filling)
- 1/2 cup full-fat coconut milk for that rich, creamy texture
- 1/4 cup maple syrup for just the right amount of sweetness
- 2 teaspoons pumpkin pie spice or a blend of cinnamon, nutmeg, and ginger
- 1 teaspoon vanilla extract for that extra cozy flavor
- 1 tablespoon cornstarch this thickens the filling just right
- 1/4 teaspoon salt to enhance the flavors
For the Topping (Optional but Highly Recommended):
- Whipped coconut cream or your favorite dairy-free whipped topping
- Ground cinnamon for a simple dusting on top
Instructions
Step 1: Prepare the Crust
- Preheat your oven to 350°F (175°C).
- Mix the dry ingredients: In a medium bowl, combine the gluten-free all-purpose flour and salt.
- Add the wet ingredients: Stir in the melted coconut oil (or vegan butter) and maple syrup until the mixture comes together and forms a dough.
- Shape the crust: Press the dough into a tart or pie pan. Use your fingers to evenly distribute the dough along the bottom and up the sides of the pan.
- Bake the crust: Place the crust in the oven and bake for 10-12 minutes, or until it starts to turn golden brown. This will help it hold its shape once the filling is added.
Step 2: Make the Pumpkin Filling
- Mix the filling ingredients: In a large bowl, combine the pumpkin puree, coconut milk, maple syrup, pumpkin pie spice, vanilla extract, cornstarch, and salt. Whisk until the mixture is smooth and well-blended.
- Taste and adjust: Taste the filling and adjust the sweetness or spices if needed. If you like a stronger spice flavor, feel free to add a little more cinnamon or nutmeg.
- Pour into the crust: Once the crust is done baking and has cooled slightly, pour the pumpkin filling into the crust. Use a spatula to smooth the top evenly.
Step 3: Bake the Pie
- Bake the pie: Return the pie to the oven and bake for 40-45 minutes, or until the filling is set. The edges should be firm, but the center may still have a slight jiggle.
- Cool and set: Allow the pie to cool completely at room temperature. The filling will firm up as it cools.
Step 4: Optional Topping
- Top the pie: Once the pie has cooled, you can top it with whipped coconut cream and a sprinkle of cinnamon for an extra touch of flavor.
Notes
- Calories: 250
- Fat: 12g
- Saturated Fat: 9g
- Protein: 4g
- Carbohydrates: 34g
- Fiber: 3g
- Sugar: 20g
- Sodium: 180mg
Happy baking, and may your dairy free pumpkin pie become a new favorite in your home!
Frequently Asked Questions (FAQ)
1 . Can I make this pumpkin pie ahead of time?
A: Yes, this pie is perfect for preparing in advance. You can bake it up to two days before serving, then store it in the fridge. Just let it come to room temperature or chill it as desired before slicing.
2 . Can I use a different non-dairy milk instead of coconut milk?
A: Absolutely! While coconut milk gives the pie a rich, creamy texture, you can substitute it with almond milk, oat milk, or even cashew milk. Just make sure to use a full-fat version for the best consistency.
3 . How do I ensure the pie crust doesn’t get soggy?
A: A common issue with pumpkin pies is a soggy crust. To avoid this, pre-bake the pie crust for about 10 minutes before adding the filling. This helps set the crust, creating a barrier that keeps it crisp.
4 . What should I do if the filling cracks while baking?
A: Cracks can form if the pie is overbaked. To prevent this, make sure to take the pie out when the filling is still slightly jiggly in the center. It will continue to firm up as it cools, ensuring a smooth finish.
5 . How can I store leftovers?
A: Store any leftover pumpkin pie in an airtight container in the fridge for up to 4 days. You can also freeze individual slices for up to a month—just thaw in the fridge before enjoying.
This FAQ section covers some of the most common questions and offers practical solutions for a perfect dairy free pumpkin pie every time. Happy baking!

1 thought on “Dairy Free Pumpkin Pie That Everyone Will Love”